Building Your First 4x4 In Wodonga: Which Accessories To Fit First
Buying your first 4WD is the easy part. Walking into an accessories shop and working out what to buy is where most new owners hit a wall. The range is enormous, the prices add up fast and everyone has a different opinion on what you absolutely need. For 4x4 accessories for beginners especially, knowing where to start without wasting money on the wrong first buys is the challenge. Without a clear plan, it is easy to spend money on gear that looks great but leaves you stranded on the first proper track because you skipped the basics.
The good news is that there is a logical order to building a 4x4, and following it means your vehicle is genuinely capable and safe at every stage — not just impressive in the car park. This guide lays out that order, explains what the first 4x4 accessories to fit actually are, and helps new owners in the Albury Wodonga region build a capable rig without blowing the budget all at once.
Why Fitting Order Matters More Than People Think
Most new 4WD owners start their build with what they can see — a bull bar, some bigger tyres, maybe a set of roof rails. It is understandable. The visible stuff is exciting and it transforms the look of the vehicle immediately. But fitting cosmetic and protection gear before sorting recovery and safety is the most common mistake first-time builders make. Here is the problem: a bull bar does not get you unstuck. Roof rails do not help when you are axle-deep in mud on a fire trail an hour from the highway. Tyres that are not rated for where you are going can fail before the track gets interesting. The gear that costs the least and seems the least glamorous is often what determines whether a trip ends well.
Fitting order also affects cost. Some accessories depend on others being in place first — a winch needs a bull bar to mount to, a dual battery system needs adequate wiring capacity, and a suspension lift affects how your drawers and canopy sit. Getting the 4x4 build order right avoids pulling things off and refitting them as the build progresses, which adds unnecessary labour costs. Understanding the best 4x4 accessories to start with — and what comes after — is what separates a well-planned build from an expensive series of mistakes. For anyone researching 4WD accessories Albury Wodonga wide, 4x4 accessory fitting Wodonga shops can offer is most cost-effective when the sequence is planned before any money is spent.
Stage One: Recovery and Safety Gear
Before anything else, a 4WD going off-road needs the capacity to get itself — or another vehicle — unstuck. Recovery gear is the foundation of a functional 4x4, and it should be the first money spent after the vehicle purchase itself.
Recovery points are the starting point. Most factory vehicles have underbody tie-down points that are not rated for recovery use. Purpose-built recovery points — either standalone rear and front rated points or as part of a bull bar installation — provide a safe anchor for a snatch strap or winch rope. Using an unrated point for a recovery risks tearing metal from the chassis under load.
A recovery kit does not need to be elaborate for a beginner. A quality snatch strap, two rated shackles, a tree trunk protector and a set of maxtrax or traction boards covers the majority of common recovery scenarios. A shovel and a basic first aid kit round out the essentials. This gear fits in a bag and costs considerably less than most visible accessories, but it is the difference between a self-sufficient vehicle and one that relies entirely on being rescued.
Tyres deserve serious attention early in a build. Factory tyres on most new 4WDs are highway-oriented and compromise quickly once the track surface changes. Moving to an all-terrain tyre appropriate for the type of driving you intend to do is one of the highest-value early upgrades — it affects traction, clearance and recovery ability immediately. Tyre selection should factor in the terrain you are actually planning to drive, not just what looks good on the vehicle.
Stage Two: Protection
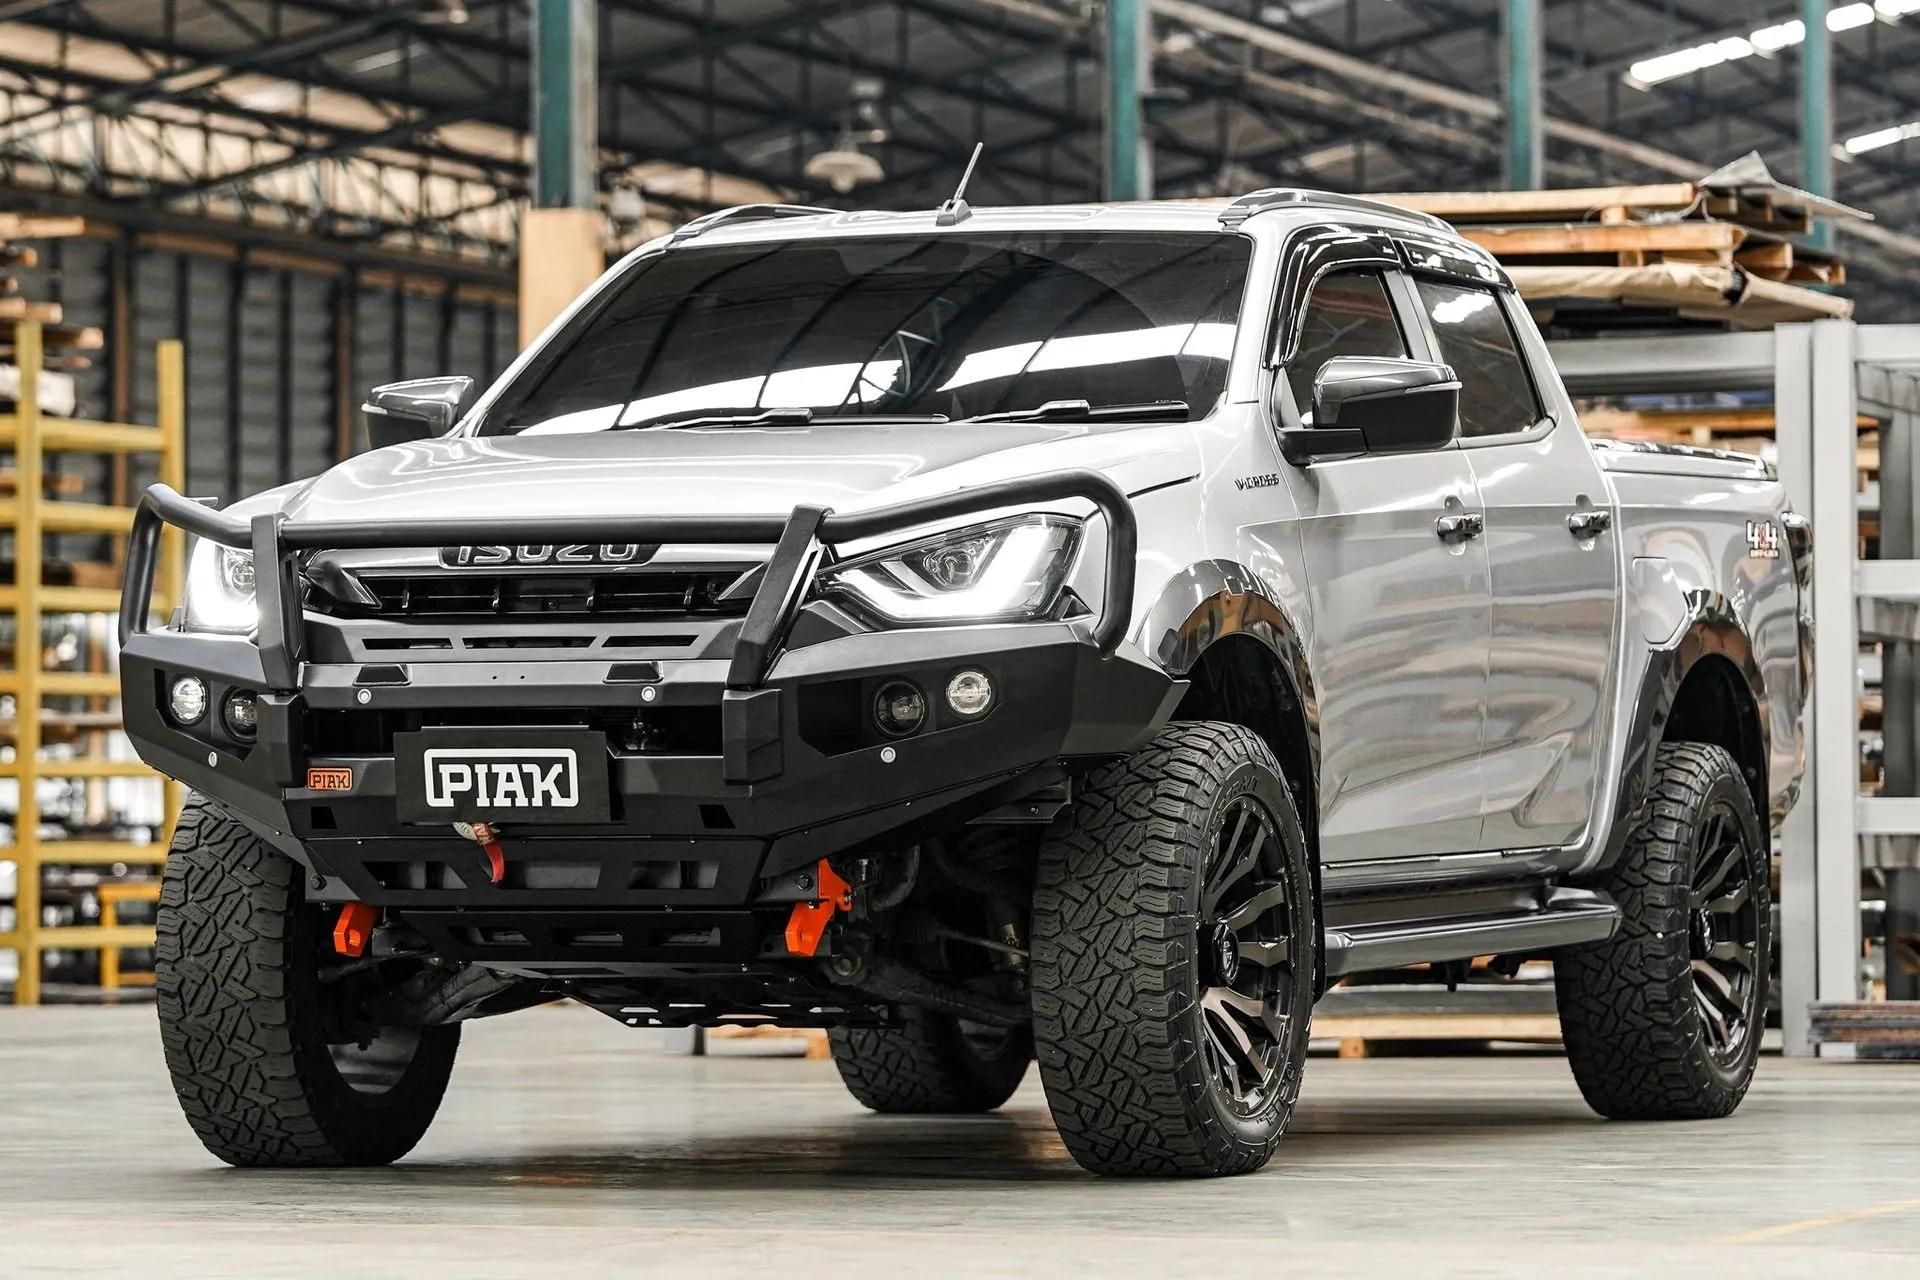
Once recovery is sorted, the next priority is protecting the vehicle's vulnerable components. Off-road terrain punishes the parts of a vehicle that were designed with sealed roads in mind — and repairs to damaged components are significantly more expensive than the protection that prevents them. A bull bar is the most visible protection upgrade and often the one new owners want first. Fitting it here rather than at the start makes sense because it is typically the mounting point for a winch and recovery points, so installing it once all recovery requirements are confirmed avoids doing the work twice. A quality steel or aluminium bar protects the front of the vehicle from impact with animals, vegetation and terrain, and provides a solid mounting platform for accessories like driving lights and a winch.
Underbody protection covers the components most exposed to rock strikes and hard terrain — the sump, gearbox, transfer case and fuel tank. Bash plates are unglamorous but high-value. Replacing a cracked sump or damaged transfer case on the side of a track is a significant exercise. A set of well-fitted bash plates is cheap insurance by comparison.
Driveline and differential protection in the form of diff locks or lockers can come later in the build, but the protection stage is when to start planning for them. Understanding how your vehicle's existing diff lock system — or lack of one — performs in challenging terrain helps inform what modifications come next.
Stage Three: Touring and Comfort Upgrades
With recovery capability and protection in place, the build can move toward extending how far and how long you can travel. This is where the touring setup takes shape — and where budget can be spread over time without compromising the vehicle's core capability between upgrades. A dual battery system is the anchor of a touring setup. Running a fridge, lighting, a phone and camp power from the starter battery depletes it, and a vehicle with a flat battery in a remote location is a serious problem. A secondary battery — whether AGM, lithium or a combination — with appropriate isolation keeps camp power separate from starting power. This system should be planned early even if the full installation comes later, as the wiring routing affects where other gear sits.
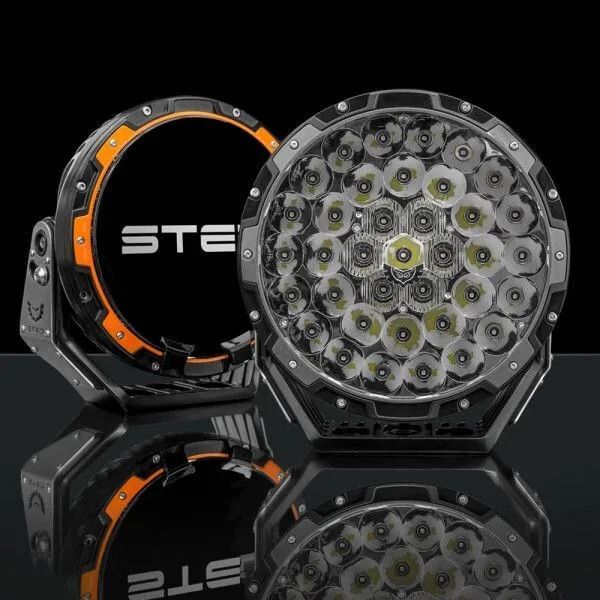
Lighting improves safety and usability at night on unsealed roads and at camp. LED light bars, driving lights and work lights are relatively straightforward additions once a bull bar is in place. Lighting can be added incrementally as budget allows.
Drawers, a fridge slide and cargo management keep gear organised and accessible in the load area. A well-planned drawer system protects gear from damage, secures heavy items that become projectiles in a sudden stop, and makes camp setup faster. These systems are often installed alongside a canopy or tray setup if the vehicle is a dual-cab.
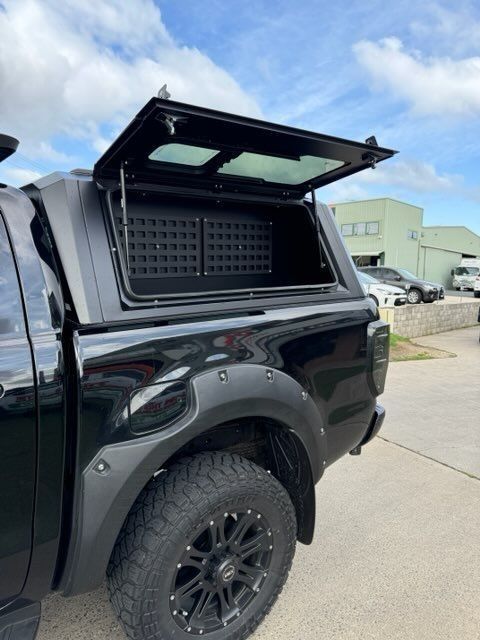
A canopy or rooftop tent is typically the largest single cost in the touring stage. A canopy transforms a dual-cab or wagon's storage capacity for extended trips and provides weather protection for gear. A rooftop tent adds comfortable elevated sleeping. Both are significant investments and generally come after the functional foundation of the build is complete.
How to Build on a Budget Without Compromising Capability
A full touring 4x4 build can run well into five figures, but that does not mean a new owner needs to spend that upfront to have a capable vehicle. The stage-based approach exists precisely because it keeps the vehicle trail-ready at every step, even when the build is only partially complete.
Practical budget management for a first build:
- Prioritise stage one completely before spending on anything else. Recovery gear and appropriate tyres are non-negotiable for anyone going off-road
- Buy quality where it counts — recovery points, snatch straps and shackles are safety equipment. Do not economise on rated hardware
- Fit accessories in an order that avoids rework. A bull bar fitted before recovery points are specified may need to come off and go back on
- Spread stage two and three over months rather than all at once — each stage improves the vehicle meaningfully without requiring the next stage to be complete
- Talk to someone who knows the local terrain before committing to a suspension lift or tyre size. What works on the Victorian High Country may be different to what you need for the tracks closest to home
Not sure what to fit first for how you will use your 4WD?
Talk to our team and we will map out a build plan that suits your vehicle, your budget and where you are planning to go.
What Comes After the Foundation
Once the three stages above are in place, the build can go in many directions depending on how the vehicle is used and what terrain is on the agenda. Suspension lifts, larger tyres, winch upgrades, communication equipment like UHF and PLBs, water storage, external showers and kitchen setups are all later-stage additions that build on the functional foundation.
As your build progresses, our
4x4 mods cover suspension, lift kits and the bigger upgrades that typically come after the basics are sorted. And once the basics are in place and you are planning your first big trip into the ranges, see our guide to
the best 4x4 accessories for tackling the Victorian High Country for trip-specific gear recommendations.
Getting the Right Advice Before You Start
The single most common source of wasted money in a first 4x4 build is fitting gear that does not suit the vehicle, the terrain or the intended use. A lift kit sized for extreme rock crawling on a vehicle that will mostly do forest tracks is over-engineered and over-budget. Tyres chosen for looks rather than conditions underperform when it matters. Accessories fitted in the wrong order create rework costs. Getting advice from someone who has built vehicles for similar conditions — and knows the specific challenges of the terrain accessible from Albury Wodonga — is worth doing before you start spending. It does not need to be a lengthy consultation. A conversation about what you want to do with the vehicle and what your budget looks like gives enough to map out a sensible build sequence.
At
Opposite Lock, we supply and fit the full range of
4x4 accessories Wodonga drivers rely on, from recovery gear and first-build essentials to full touring setups. Our team has been working with 4WD owners in the Albury Wodonga region since 1975 and understands the terrain, the tracks and the builds that suit them. Whether you are just starting out or looking to take an existing build to the next level, visit our website or call us on
(02) 6056 4414 to get started.